
We were invited to a nice Christmas party last night on Waiheke Is. NZ, where we’re spending a few days with sister Sal and Brother-in-law Roger. Nephew Tane turned up a couple of days ago, too. Thanks for having us, Chris and Bob! The invitation was bring-a-plate, and in view of the number of eaters going from this household, I offered to add a plate of Mum’s cheese savouries, already known to my mahjong friends and others in Montevideo, and possibly dimly remembered by others from earlier periods of my socialising life in various parts of Aus and USA. It’s a good thing I took pics along the way with a future post in mind, as the savouries went down very well and several people asked me how they were made. I was able to say I’d post the recipe in a day or two. When asked for a recipe, if it was a special one, I have usually smiled and said “Of course – when I leave town …” But this variation on the welsh rarebit, grilled bread+cheese formula isn’t in that precious category, so I’m happy to share and hope you enjoy.
You don’t often hear the rather old fashioned word ‘savouries’ these days, though it was very smart in the 50s when I was young. We still eat them of course, but we’re inclined to use words like ‘canapes’, ‘tapas’ or ‘snacks’, depending on the cultural influences we’ve been exposed to. Cheese savouries might be something you know by another name, but let me tell you how to make my version:
You need about 3 cups of grated tasty cheddar cheese. (fresh parmesan is my substitute in Montevideo – tasty cheddar’s difficult to find there) A large egg (or two small as in my pic). 1/4 cup each of tomato sauce/ketchup and worcester sauce. An egg-sized piece of butter – definitely not margarine, the result would be too horrible to contemplate. These quantities are estimates only, and the photos will help you judge if you’re on the right track. Also, while the first photo doesn’t show the melted butter, it was there under the cheese, believe me.
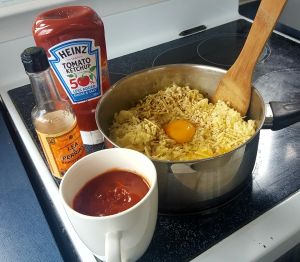
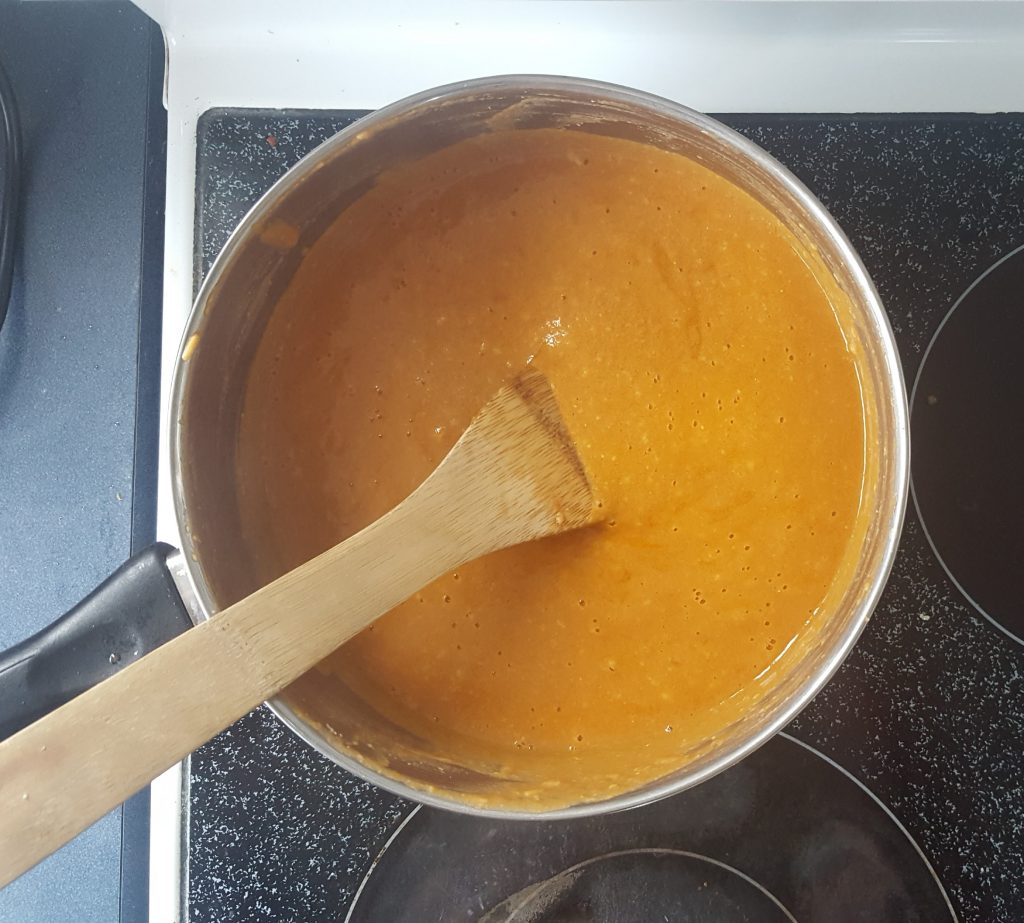
Heat at all the ingredients, carefully stirring all constantly until it all looks like the pic above. Remove and cool before using. The mixture keeps in the frig for a few days, and can be frozen until later.
Slice some day old bread and spread the mixture on the bits, being careful to go out to the edges. Put on an oven sheet and bake in a medium-hot oven until they are well cooked, looking a little dark but not burned at the edges – see photo below. They’re still pretty yummy if they a bit darker red-brown than my pic – it’s a pretty forgiving recipe.
As pictured below, I sliced a baguette, but the bread shape is your choice. Mum used to get the bread sliced at some tearoom place that would slice loaves for customers as mentioned in a previous post, where I also mentioned that in my youth, triangles were somehow more ‘fancy’ than mere squares or rectangles. For really special occasions, Mum would then use a round cookie cutter to produce bread circles, and she always added some finely chopped bacon on top; but that all seems a little cholesterolly excessive these days, so I don’t add that. Hot or cold, with or without soup and/or salad, in picnic baskets, in a brunch or as a snack with later afternoon drinkies with friends, these savouries are perfectly multi uso.
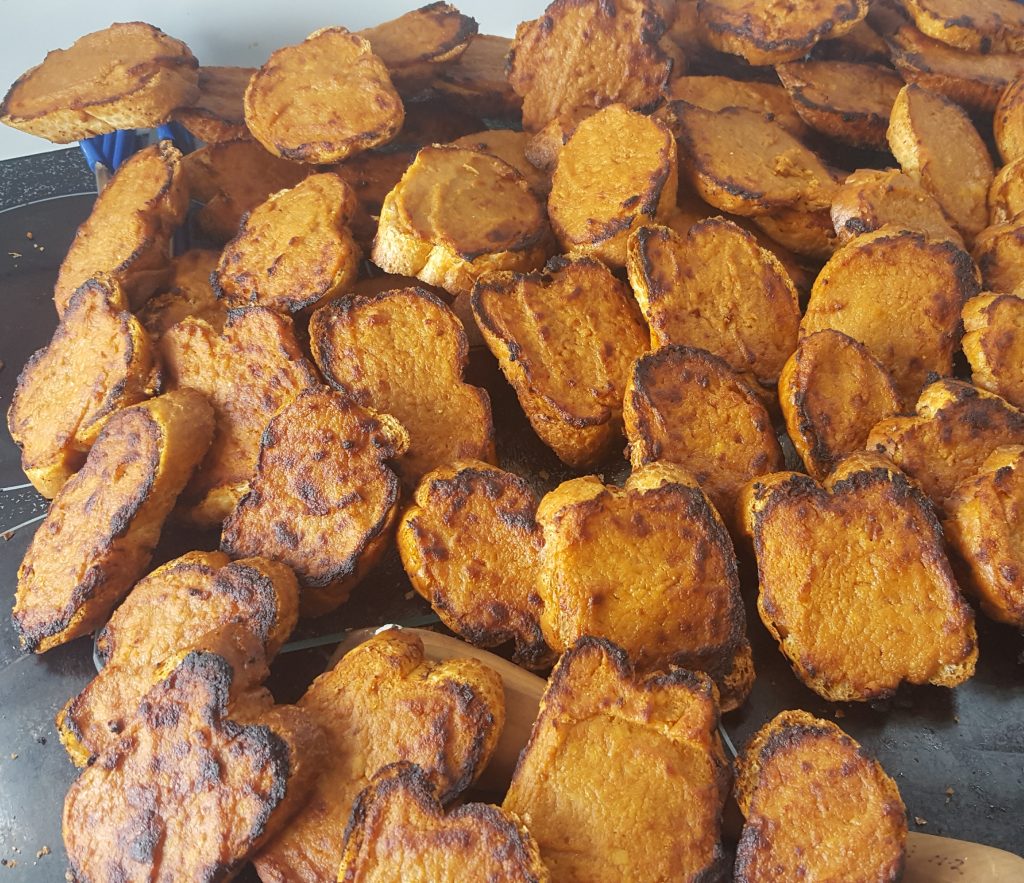
You keep putting the cheese mix onto bread slices until you run out of one or the other. If you have bread left, you can make breadcrumbs or put it in bread and butter custard. If you have mixture left, either freeze it or use by putting a scrape on celery sticks for a snack. It also keeps a few days in the frig, and goes well on dry toast or crackers. The cooked pieces freeze really well, too.
If the pics are different sizes and don’t line up properly when you read this, all I can say is it’s someone else’s computer 😉 and it’s taken rather longer than usual to write. However, we’re within a day or two of heading back to Montevideo from Australia and New Zealand, and the quality will improve !
Thanks for recipe